Table of Contents:
Table of Contents:
Installing epoxy and urethane flooring systems takes proper experience and knowledge. Learn more about the basics of epoxy and urethane flooring installation.
Proper Preparation is Key in Polymer Flooring Installation
Proper preparation is the first requirement for a polymer flooring installation. If preparation of the substrate is not done adequately, there is a significant chance of issues occurring such as bonding to the substrate and other problems.
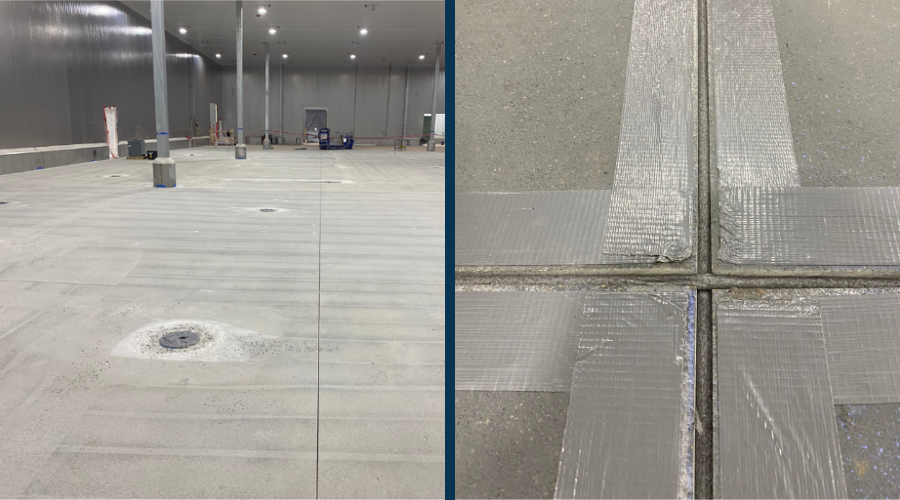
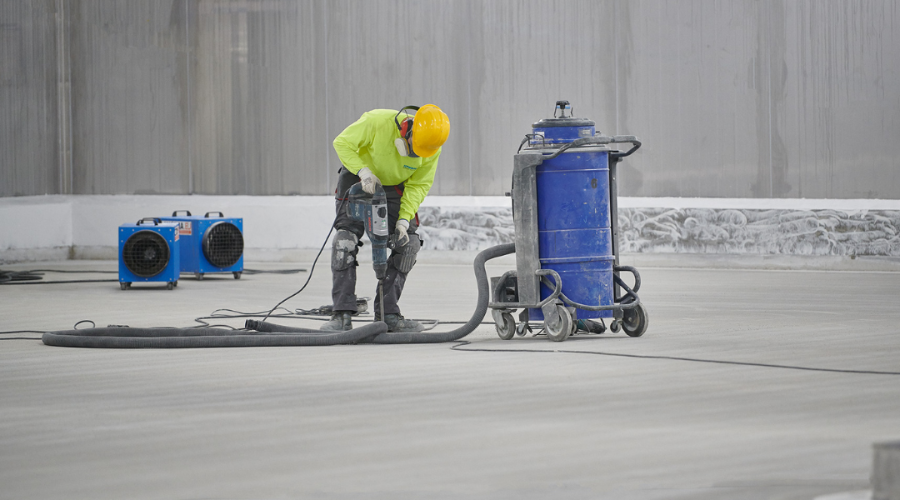
Concrete must be mechanically prepped utilizing diamond grinders, media blasting or scarifying. This is critical in order to remove the laitance and any potential contamination from the surface of the concrete. Laitance is the thin weak layer on the surface of poured concrete created from drying process. Bond strength to the concrete without removal is typically less than 50 psi bond strength. With removal it is typically greater than 250 psi depending on the strength of the concrete.
Mixing of all materials is critical. Most components will be mixed within 60 to 90 seconds. Proper mixing ensures complete reaction of the material and prevents any curing issues. Mixing can be completed by utilizing a drill with a mixing blade or by using a mortar mixer.

Proper mixing is critical to ensure full material reaction and prevent curing issues.

A scarifier has rotating tools that cut/scar the surface of concrete to create a rough profile for a complete bond.
Installing Mortar-Based Polymer Flooring
Mortar-based systems are typically 1/8" to 1/4" systems that incorporate a polymer resin filled with an aggregate. There are many different options from liquid rich systems that are self-priming or self-leveling to troweled systems that require a primer.
Self-Priming Systems
Self-priming systems are typically installed using a rake or a notched trowel and rolled with a spike roller to level them. Some systems are broadcast with an aggregate to build strength and to create a textured finish. The size of the aggregate will determine the texture of the finish.
Primed Systems
Primed systems use a primer layer with the mortar troweled into it wet-on-wet. Small areas are finished using a hand trowel. Large areas will achieve proper thickness of material by using a screed box and power trowel. Once the mortar is allowed to cure, preparation is completed to remove any imperfections and the area is coated with coatings or sealers.
Installing Decorative Polymer Flooring
Decorative broadcast systems are typically thinner systems: 1/16" to 1/8". These can utilize decorative quartz aggregate or decorative flakes in a range of sizes. Most systems utilize a primer layer that incorporates a broadcast to build thickness and make a more uniform finished color. The primer is applied with a squeegee and rolled with nap rollers. Excess aggregate is removed and the undercoat layer is applied in the same manner of the primer and broadcast again. Sealers are then applied. Depending on the system and the finish desired there may be multiple layers of sealer.
Installing Self-Leveling or High-Build Flooring Systems
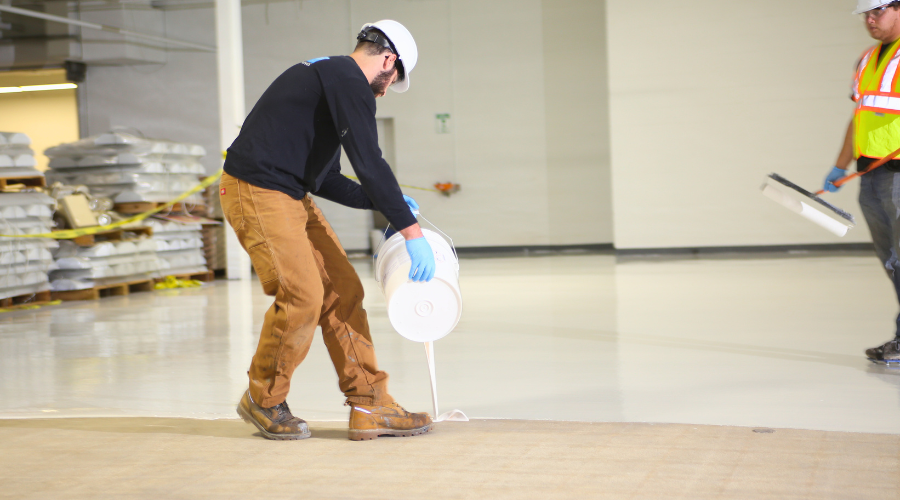
Self-leveling flooring systems or High-build flooring systems can range from 25-30 mils up to 3mm. They are typically smooth, with a glass-like finish. After proper preparation, the floor will be primed to seal off the substrate to prevent any outgassing in the concrete and pinholes or bubbles in the system. The self-leveling or high-build system is then installed using a notched squeegee or rake to apply to the proper thickness and allowed to cure.
About Stonhard
Stonhard is the unprecedented world leader in manufacturing and installing high-performance polymer floor, wall and lining systems. Stonhard maintains 300 territory managers and 200 application teams worldwide who will work with you on design specification, project management, final walk-through and service after the sale. Stonhard’s single-source warranty covers both products and installation. Contact us to learn more about our precision installation methods and specialized products.
Related Articles
Loving this Content?
Subscribe to upcoming topics!


